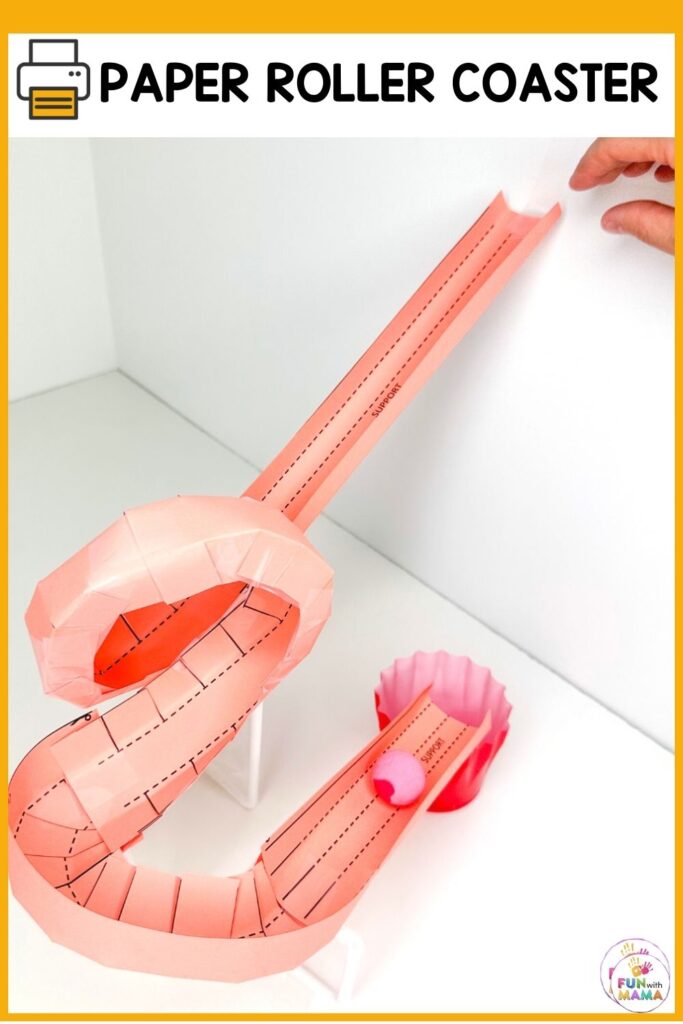

Get ready for an exciting STEM activity where you and your children will become paper roller coaster designers! By creating your own paper and tape roller coaster, you’ll discover the fascinating world of physics behind these thrilling rides. You can also utilize the paper roller coaster templates to get started. This hands-on project will provide a fun and educational experience for students of all ages. Let’s dive in and embark on a roller coaster engineering adventure!
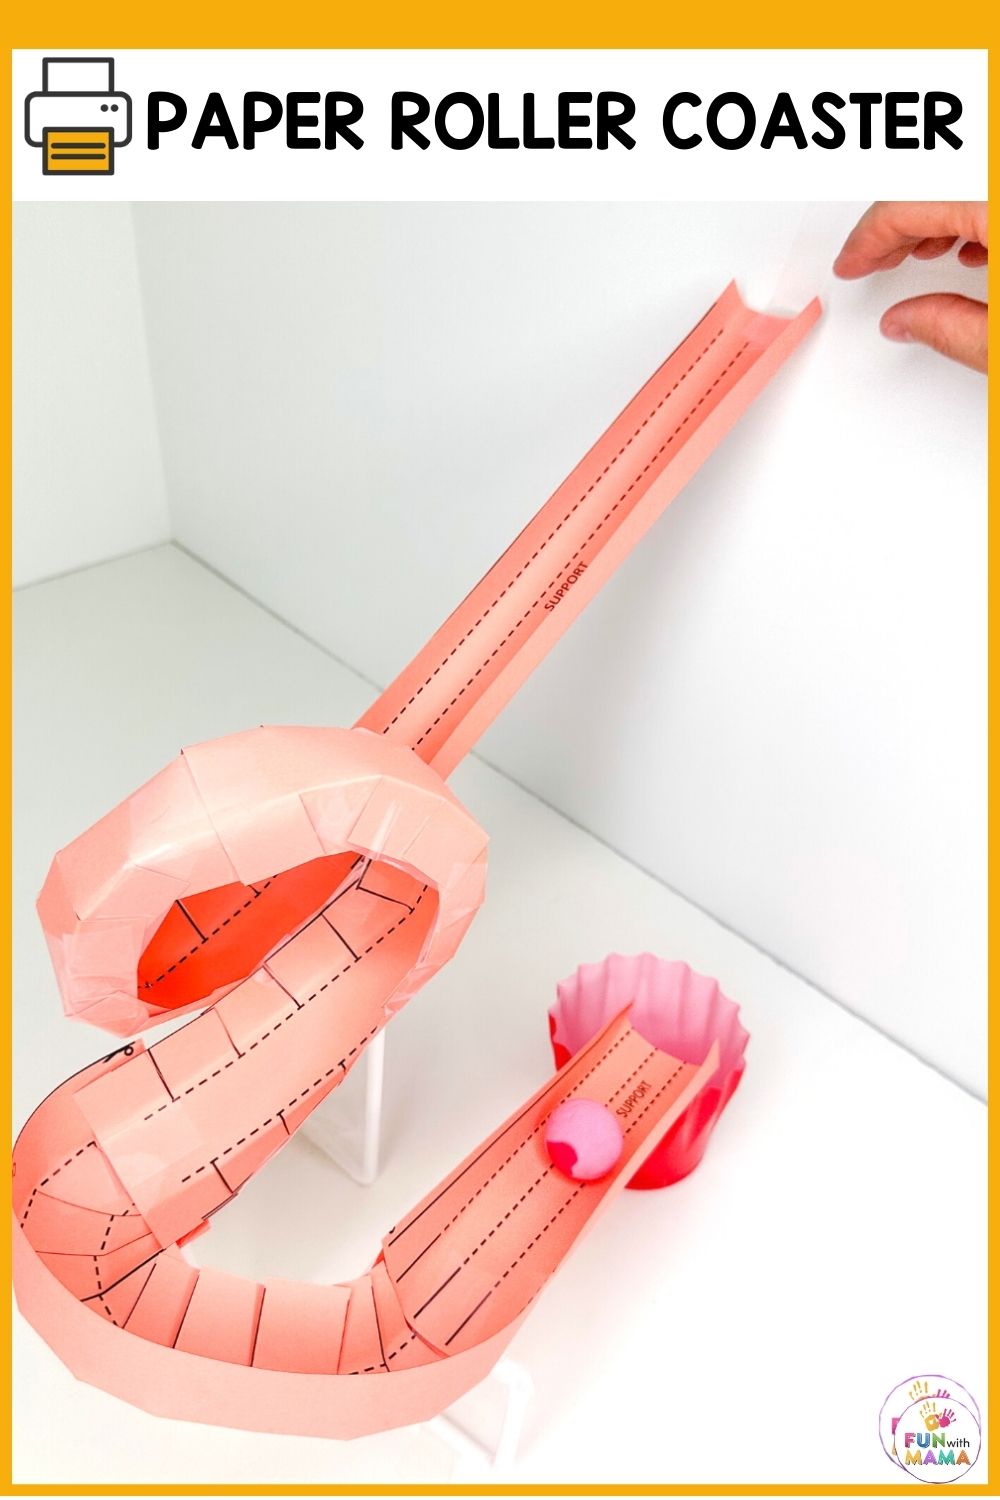
Roller coasters are all about physics! Unlike cars and trains, roller coaster cars don’t have engines. Instead, they rely on gravitational potential energy (basic gravity combined with an object’s elevation) to power their thrilling journey.
Potential energy is stored due to an object’s height above the ground and dictates the total amount of energy that the roller coaster can produce.
When the coaster car starts its descent, potential energy is transformed into kinetic energy, which is the energy of motion.
As the coaster goes up another hill, it loses kinetic energy and gains some potential energy again. Air resistance and friction with the track cause the coaster to gradually slow down as well as sharp turns.
This process continues as the coaster moves through loops, hills, and turns until it reaches the starting point.
Conservation of energy ensures that the total amount of kinetic energy and energy lost due to friction cannot exceed the initial amount of potential energy of the coaster car.
Roller coaster designers must carefully consider these principles to ensure the coaster has enough initial potential energy to complete the track.
This places certain limitations on the design, such as avoiding loops or hills taller than the initial hill and preventing excessive track length to prevent the coaster from coming to a complete stop due to friction.
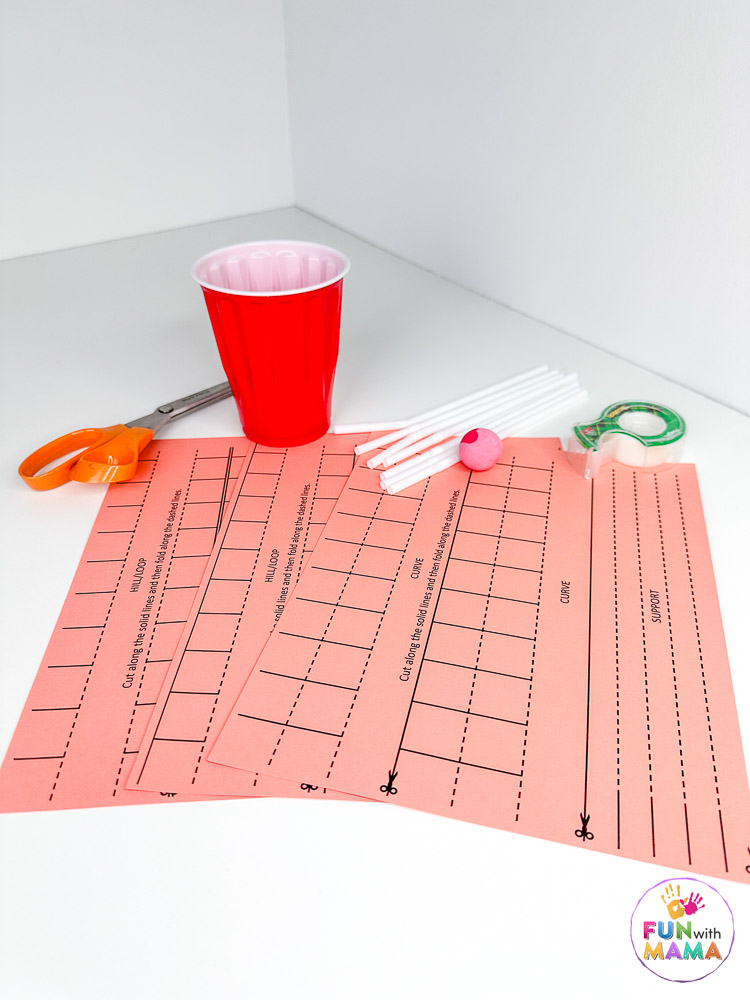
Making the ultimate paper roller coaster is easy with our printable template! Follow along with our detailed directions for using your paper templates below. First, you’ll want to make a roller coaster platform out of cardboard to support your tall roller coaster.
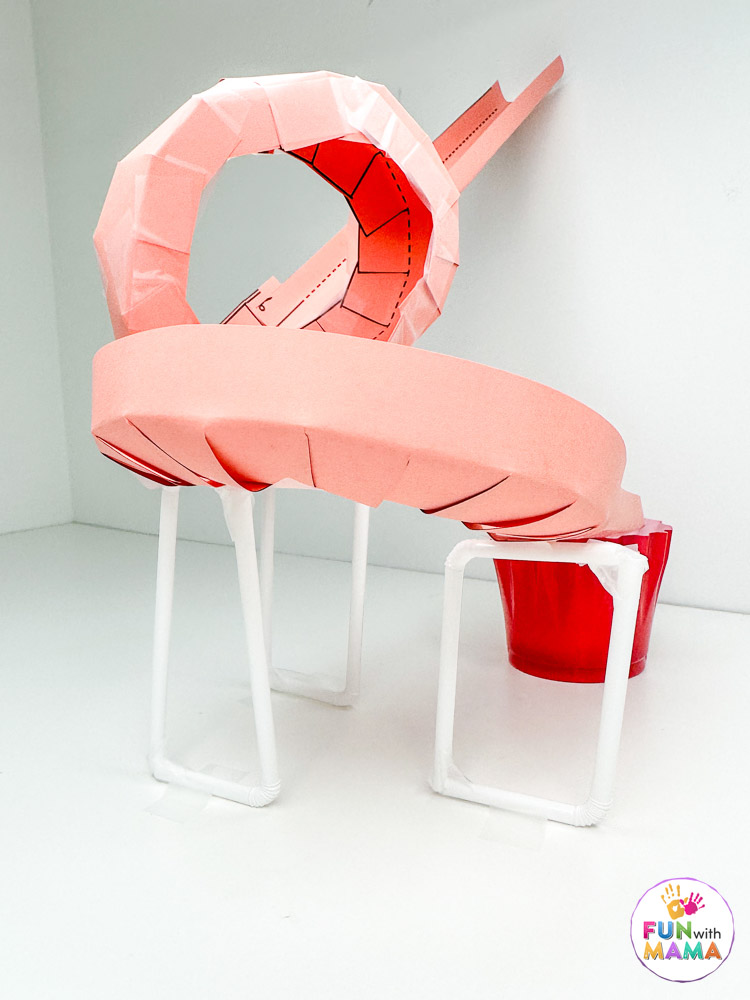
Next, select a theme of your coaster and ensure it has a goal to reach. In our successful paper coaster, we tried to reach the goal of using energy of the motion of the marble plus the loops of your roller coaster and twists of the flat segments on the whole track to guide a marble into a paper cup.
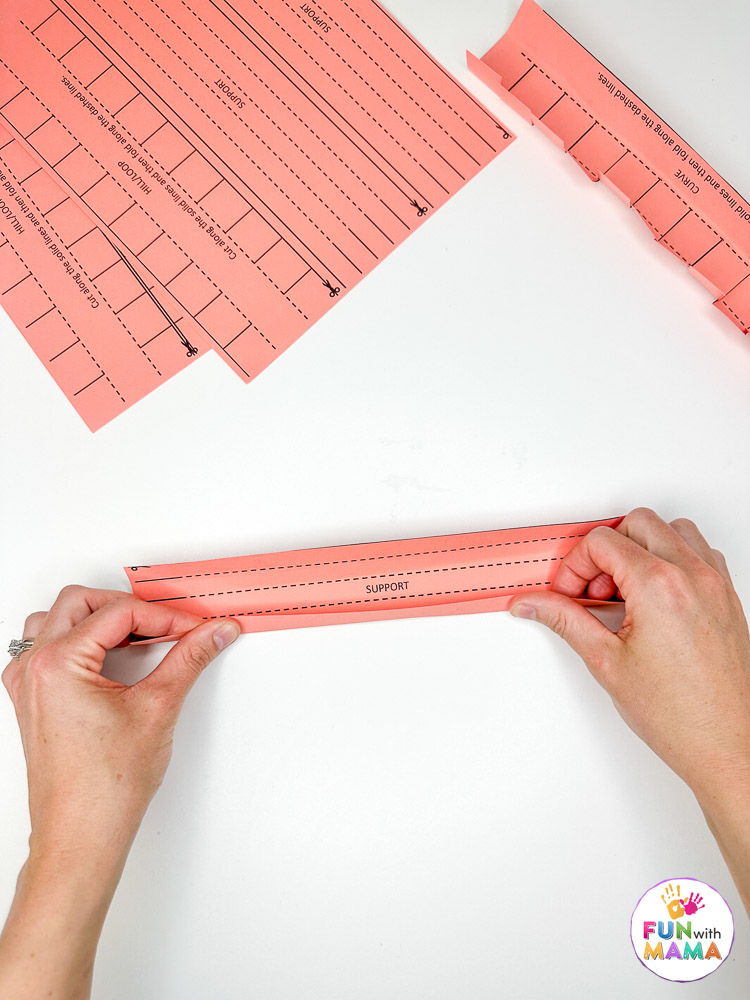
Cut a three-inch strip of paper.
Use a ruler and pencil to draw lines dividing it into three one-inch-wide segments.
Fold the outer two segments up 90 degrees along these lines.
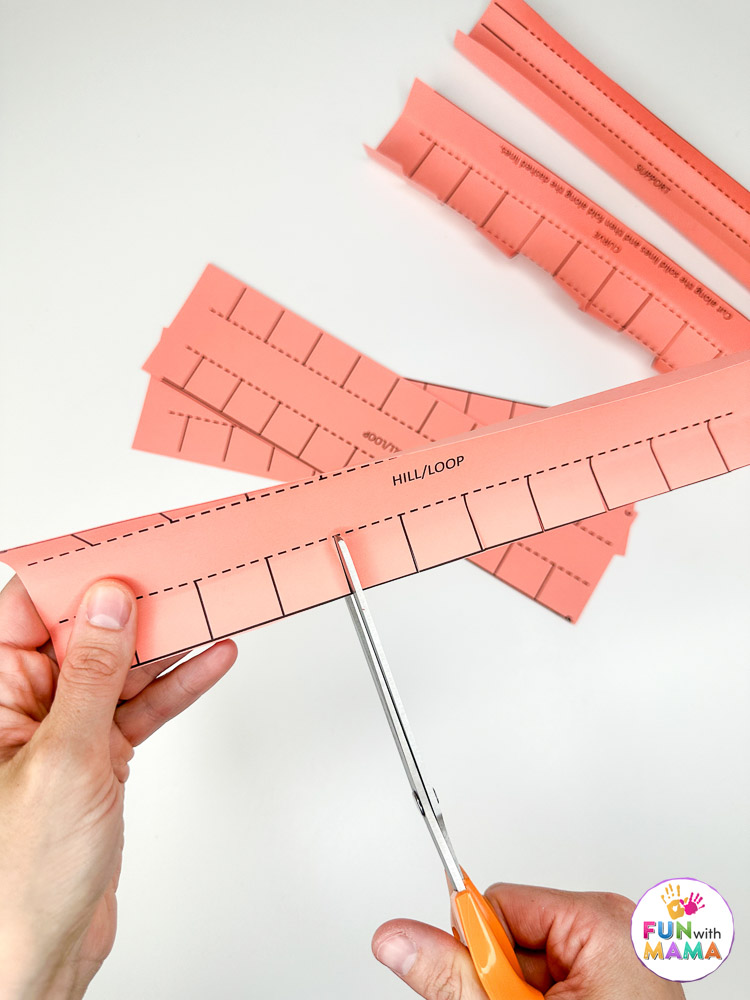
Cut inward along the lines indicated, forming one-inch square tabs on both sides.
Fold these tabs up 90 degrees.
Bend the paper to create loops or hills.
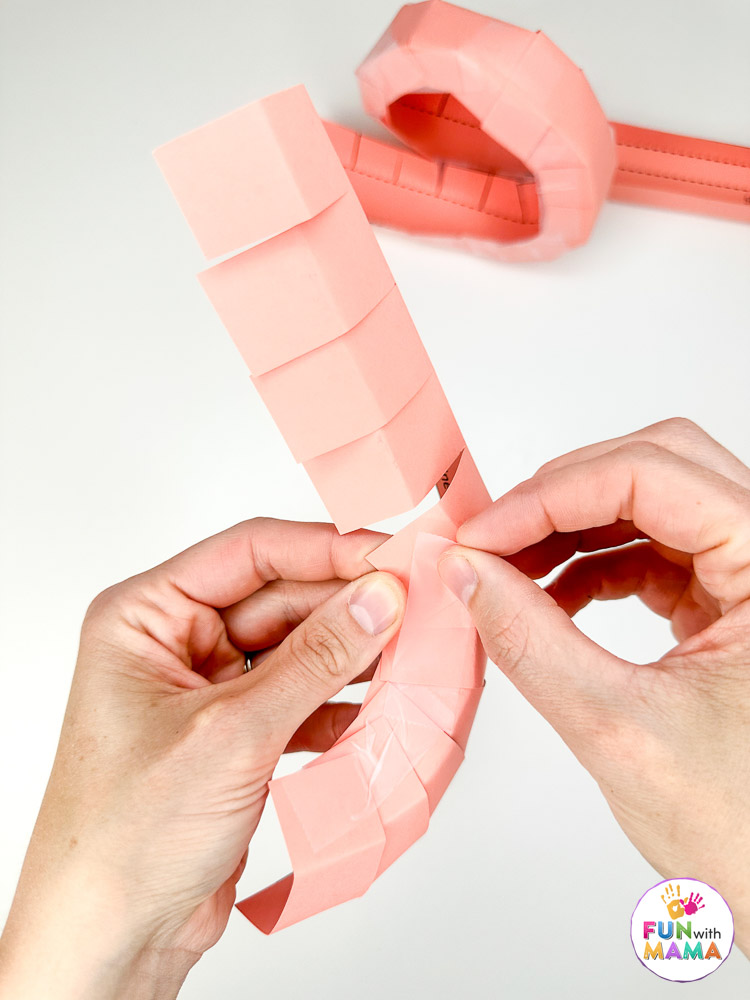
Print the paper roller coaster templates for the track curve. Fold the uncut side of the paper 90 degrees and fold the one-inch tabs on the other side up 90 degrees. The bottom portion of this track piece is flexible due to the cuts, allowing you to bend it horizontally to create a curve. Tape the tabs together to hold the paper’s shape.
Cut out the templates for the roller coaster supports (you can also use straws as supports). Crease along these segments and fold them into a square shape (with two segments overlapping). Use tape to hold them in place.
Make one-inch cuts along the edges from one end, and fold the resulting tabs outward.
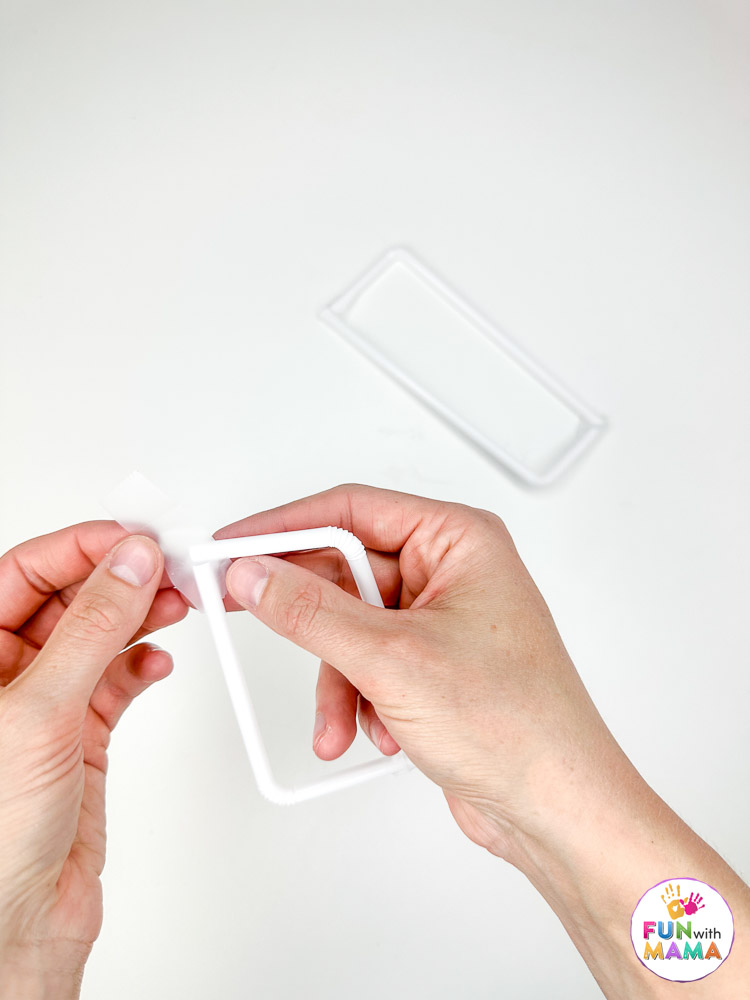
Tape the tabs flat to a piece of cardboard, creating a vertical support strut.
Ensure that all curves, loops, and hills are gradual to prevent your “roller coaster car” (marble) from crashing and abruptly stopping somewhere along the rest of the track.
Before you start building, encourage your children to plan out a design for their roller coaster. Have them draw their designs on paper and consider the information provided in the background section. Remind them to ensure the marble starts at the top of a hill! Assemble the roller coaster track using a piece of corrugated cardboard as the base. Tape the track segments together end to end according to the planned design. Place the marble at the top of the track and release it. Observe its movement carefully. Did it make it through the entire track? If the marble successfully completed the track, challenge your children to make the track longer by adding more pieces. How long can they make the track before the marble comes to a stop?
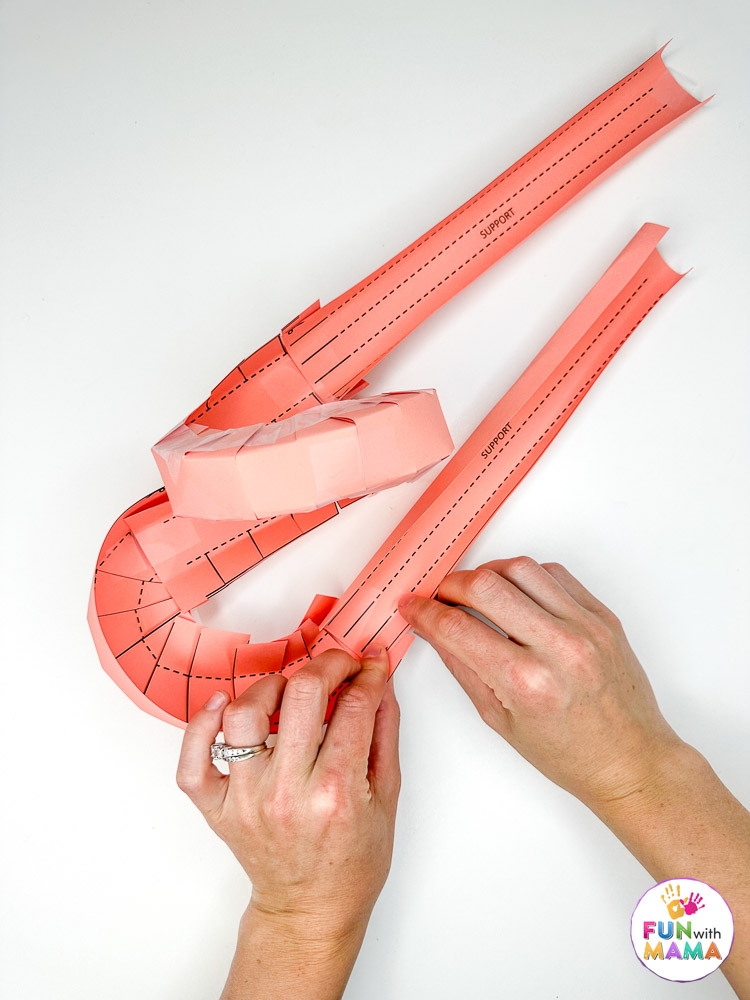
If the marble didn’t make it to the end, encourage your children to figure out why. Was there a spot in the track where the marble got stuck? Was the marble going too slowly to complete a loop? If needed, suggest changes to their design, such as making the curves more gradual or increasing the height of the initial hill to provide the marble with more potential energy. Let them make adjustments and try again. Can they guide the marble to the finish line? Instead of using paper, consider making roller coasters from foam pipe insulation, available at hardware stores. This alternative allows for larger coaster designs more quickly, as it involves less cutting, folding, and taping. Try out the Rain Cloud In A Jar Science Experiment.
If you followed the guidelines discussed in the background section, you should have designed a working roller coaster. Keep in mind that energy is lost due to friction, so the initial hill must be taller than subsequent hills or loops to provide enough energy for the marble at the top to complete the track. \
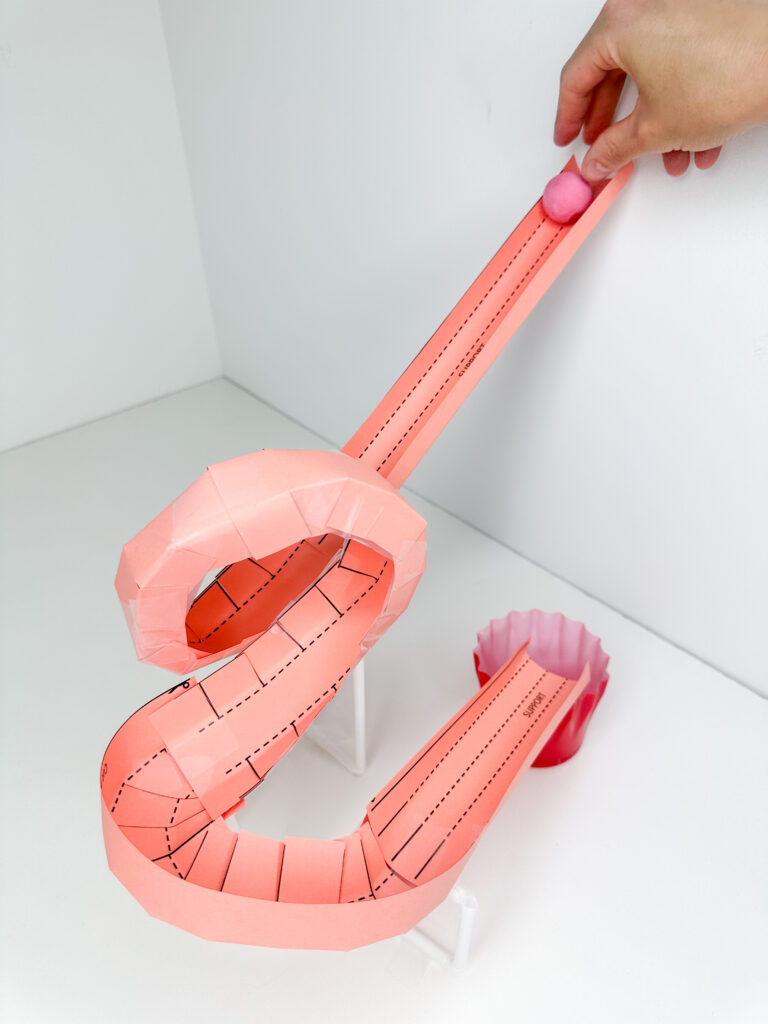
The taller the initial hill, the longer the track can be. If your track had turns that were too sharp, the marble may have collided with the walls, resulting in the loss of energy. This emphasizes the importance of ensuring smooth and gradual turns for a safe and enjoyable ride.